It can be tricky to add wall tile or wainscot and plan around every light switch or wall outlet.
Here, we're sharing various approaches to incorporating electrical devices into trim or tile.
Ideally, when adding a piece of trim, you'll want to position it at a height that runs underneath the light switch cover.

In this home, moulding was added at the same height as the switches, and this is how the builder handled it:

Next, you can see the homeowner tried to plan out the spacing of the board and batten beams to steer clear of the light switch and outlet.
The moulding ended up so close that a shorter switch plate had to be used over the dimmer switch.

If you don't space batten beams properly, you can end up with an eye sore like this:

Here, another homeowner had to cut into the beams to fit the device covers.

Another solution when this happens is to add extra wood around the device, rather than cutting into the beams to make room.

Here, an entire wall of wainscot misses every wall plate:

As with trim, wall tile that ends underneath electrical devices is always ideal.
If wall tile can't be ended above or below a switch, a common solution is to add extra tile up and around the cover plate, as these next 3 pictures show.


Another solution is to raise the tile and keep it raised until it meets the door jamb:

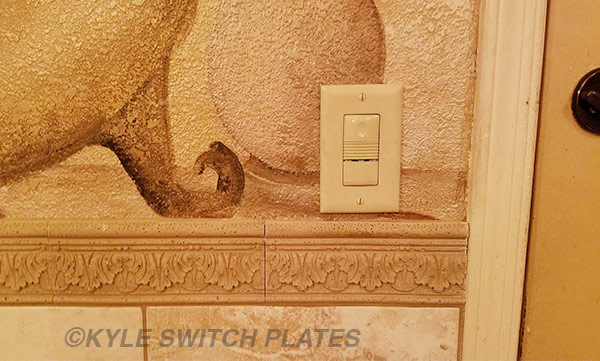
In this bathroom, the trim tiles were cut to make room for the light switch cover:

No comments:
Post a Comment